Creating and Managing Dataviews
Dataviews allow you to display, filter, and sort subsets of data efficiently. While Collections store the complete dataset, Dataviews are designed to work with specific fields, filters, and sorting rules — providing a streamlined and optimized way to interact with your data.
Why Use Dataviews?
- Efficiency: Display only the data you need without loading entire Collections.
- Performance: Optimized filtering and sorting for large datasets.
- Read-Only: Protect your underlying data while allowing users to interact with the view.
This guide explains how to create and manage Dataviews in LiveCode Create.
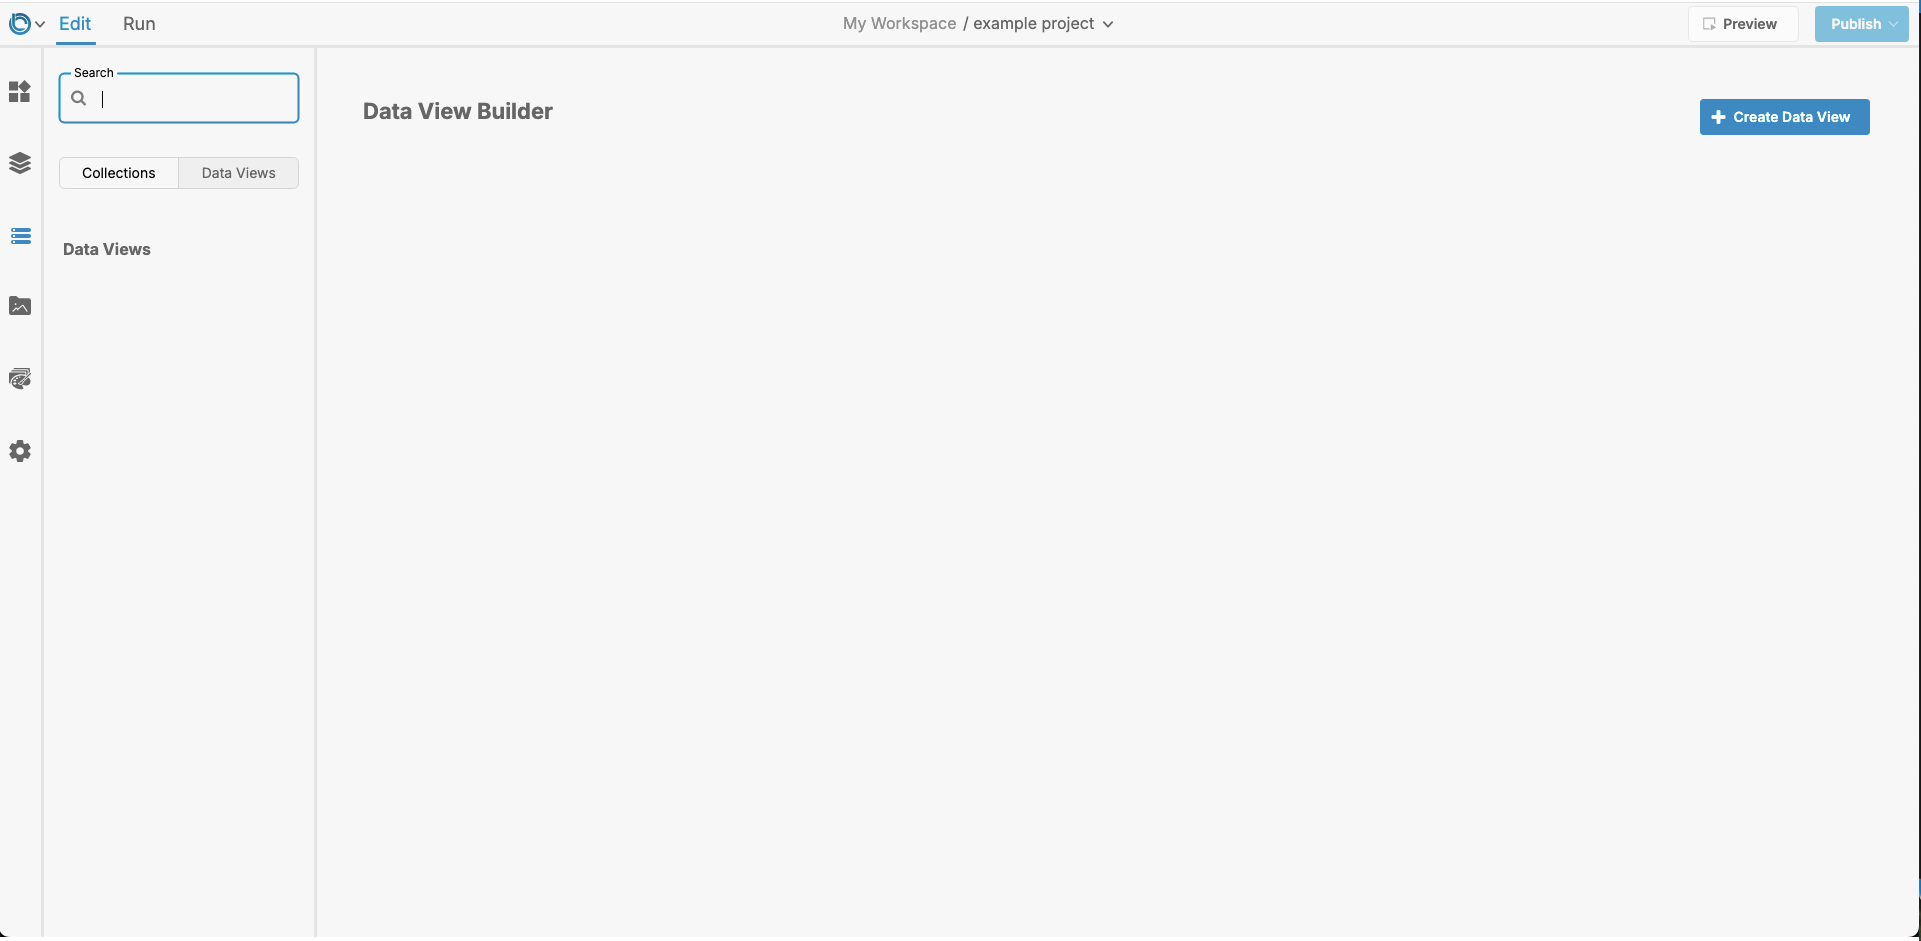
Accessing Dataviews
To create and manage Dataviews:
- Open the Collections Panel from the left-hand toolbar.
- Select the Dataviews Tab.
- To create a Dataview press +Create Dataview.

Creating a Dataview
Follow these steps to create a new Dataview:
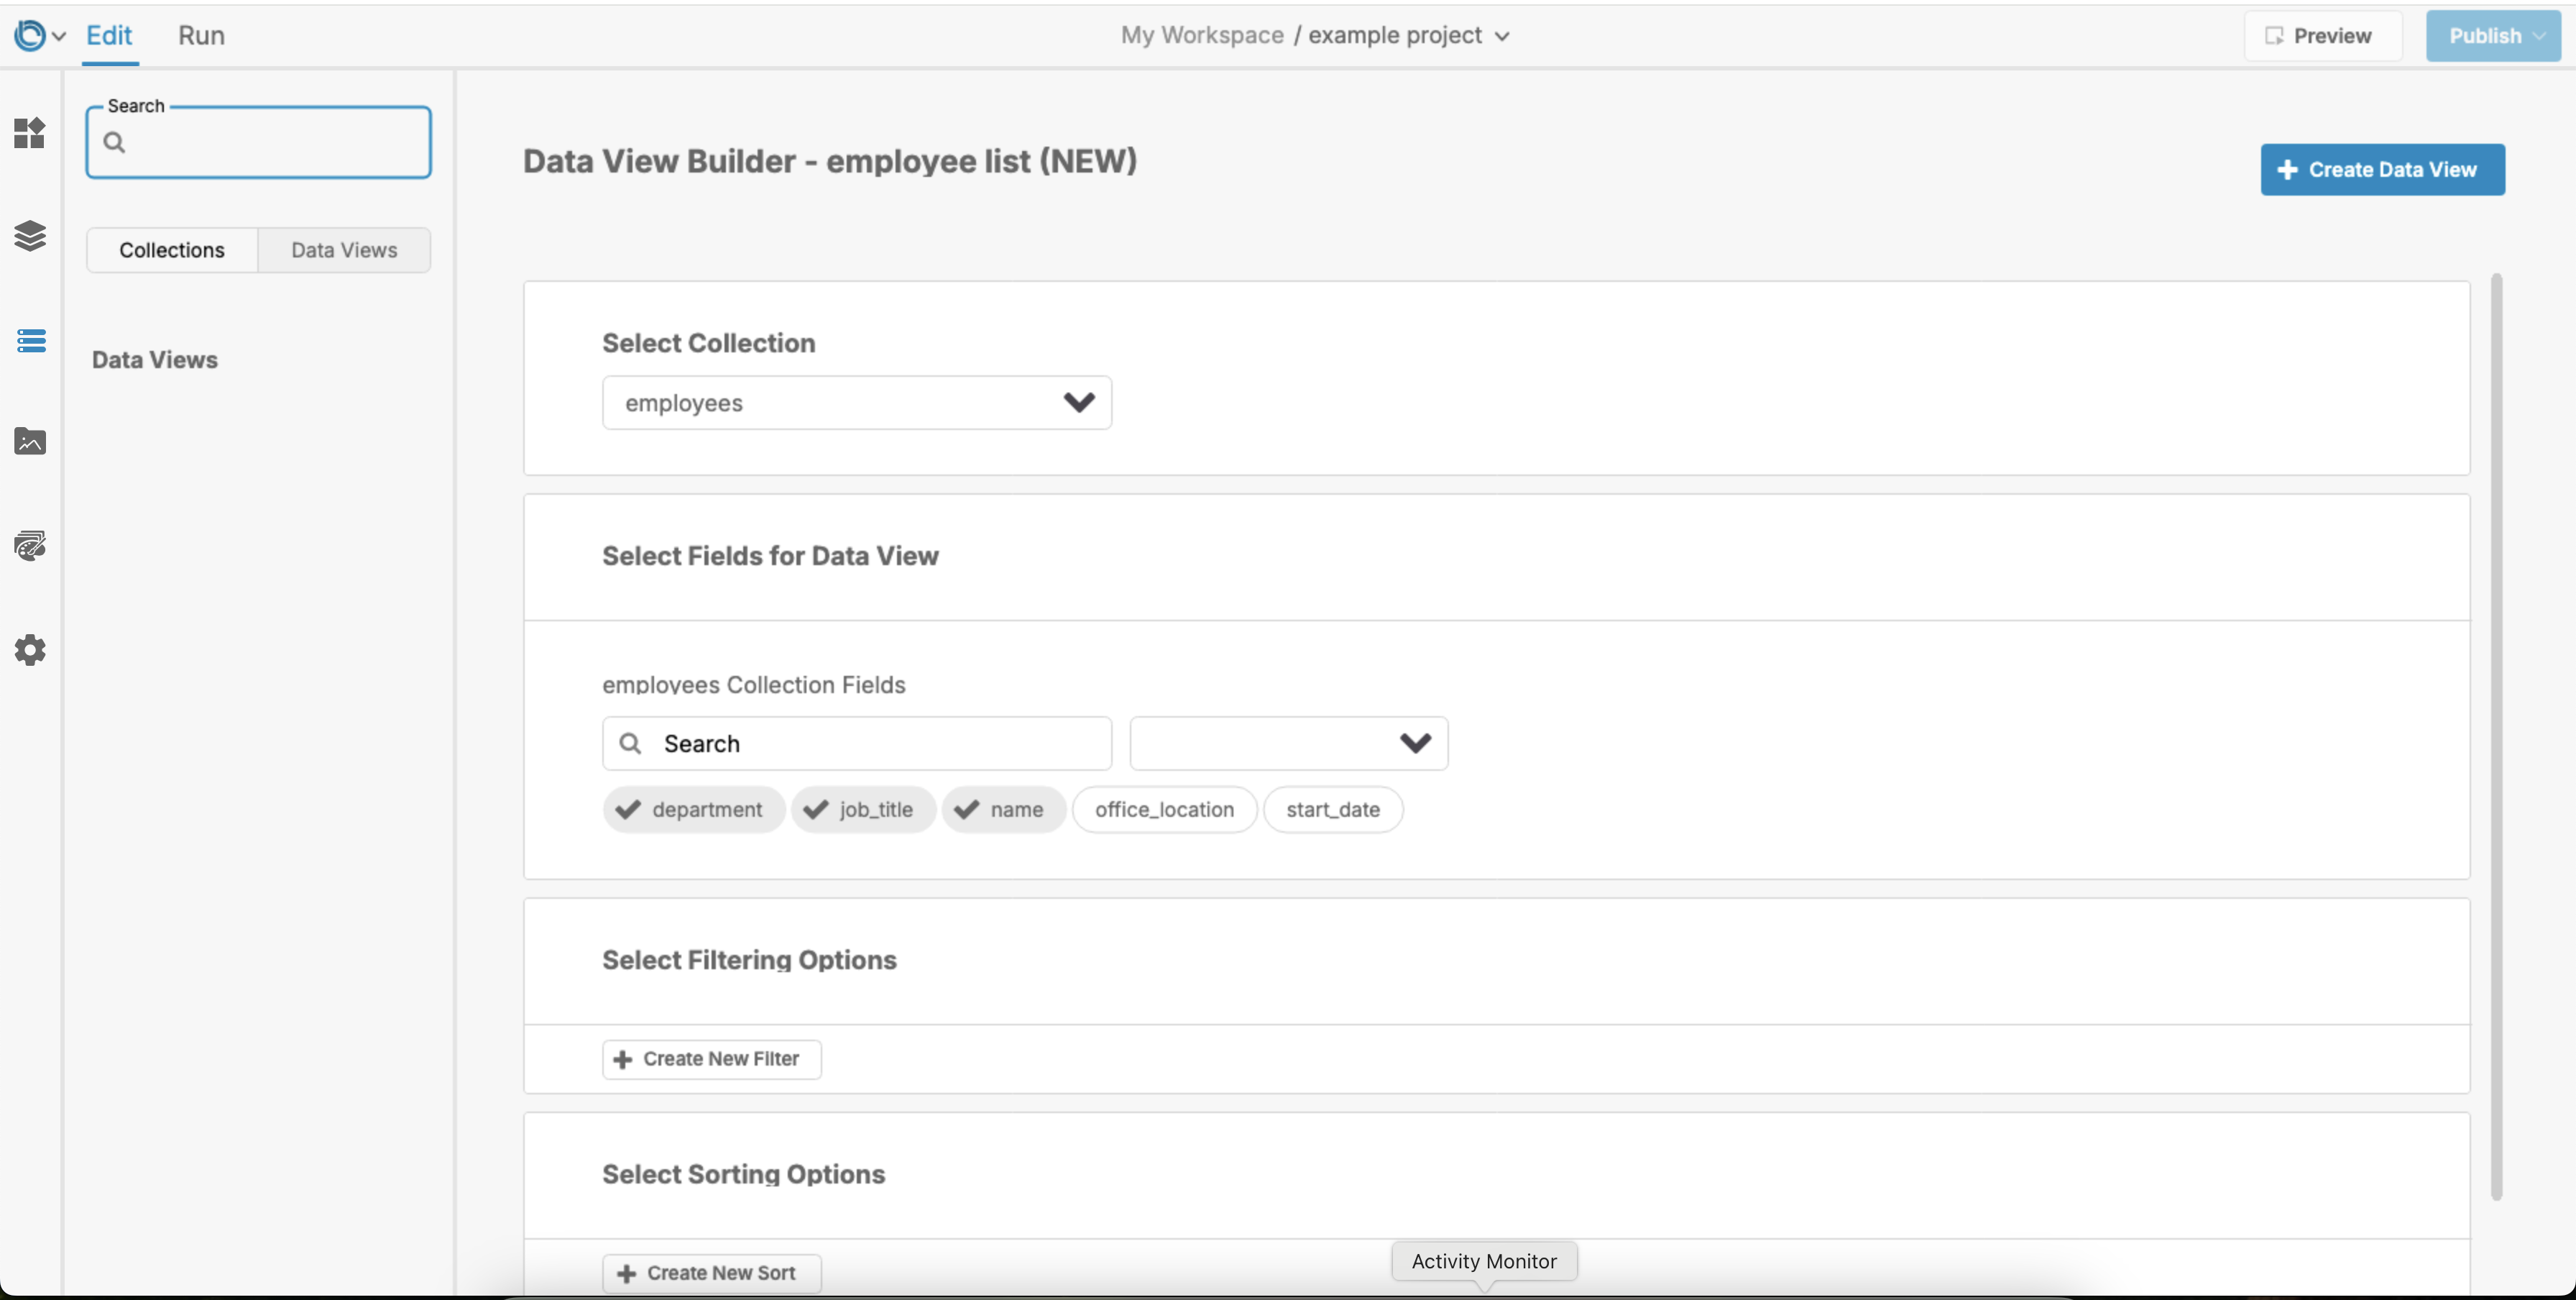
1. Select the Primary Collection
- When creating a Dataview, start by selecting a primary Collection.
- The primary Collection provides the base records for your Dataview.
Example: If you’re building a Dataview to show employees, select the Employees Collection as the primary Collection.
2. Choose Fields to Include
- After selecting the primary Collection, all its fields are displayed.
- Select the fields you want to include in the Dataview by clicking them.
Tip:
- Selected fields will appear in dark grey in the interface.
- Unselected fields remain light grey.
Example: For an employee list, you might select:
- Name
- Job Title
- Department

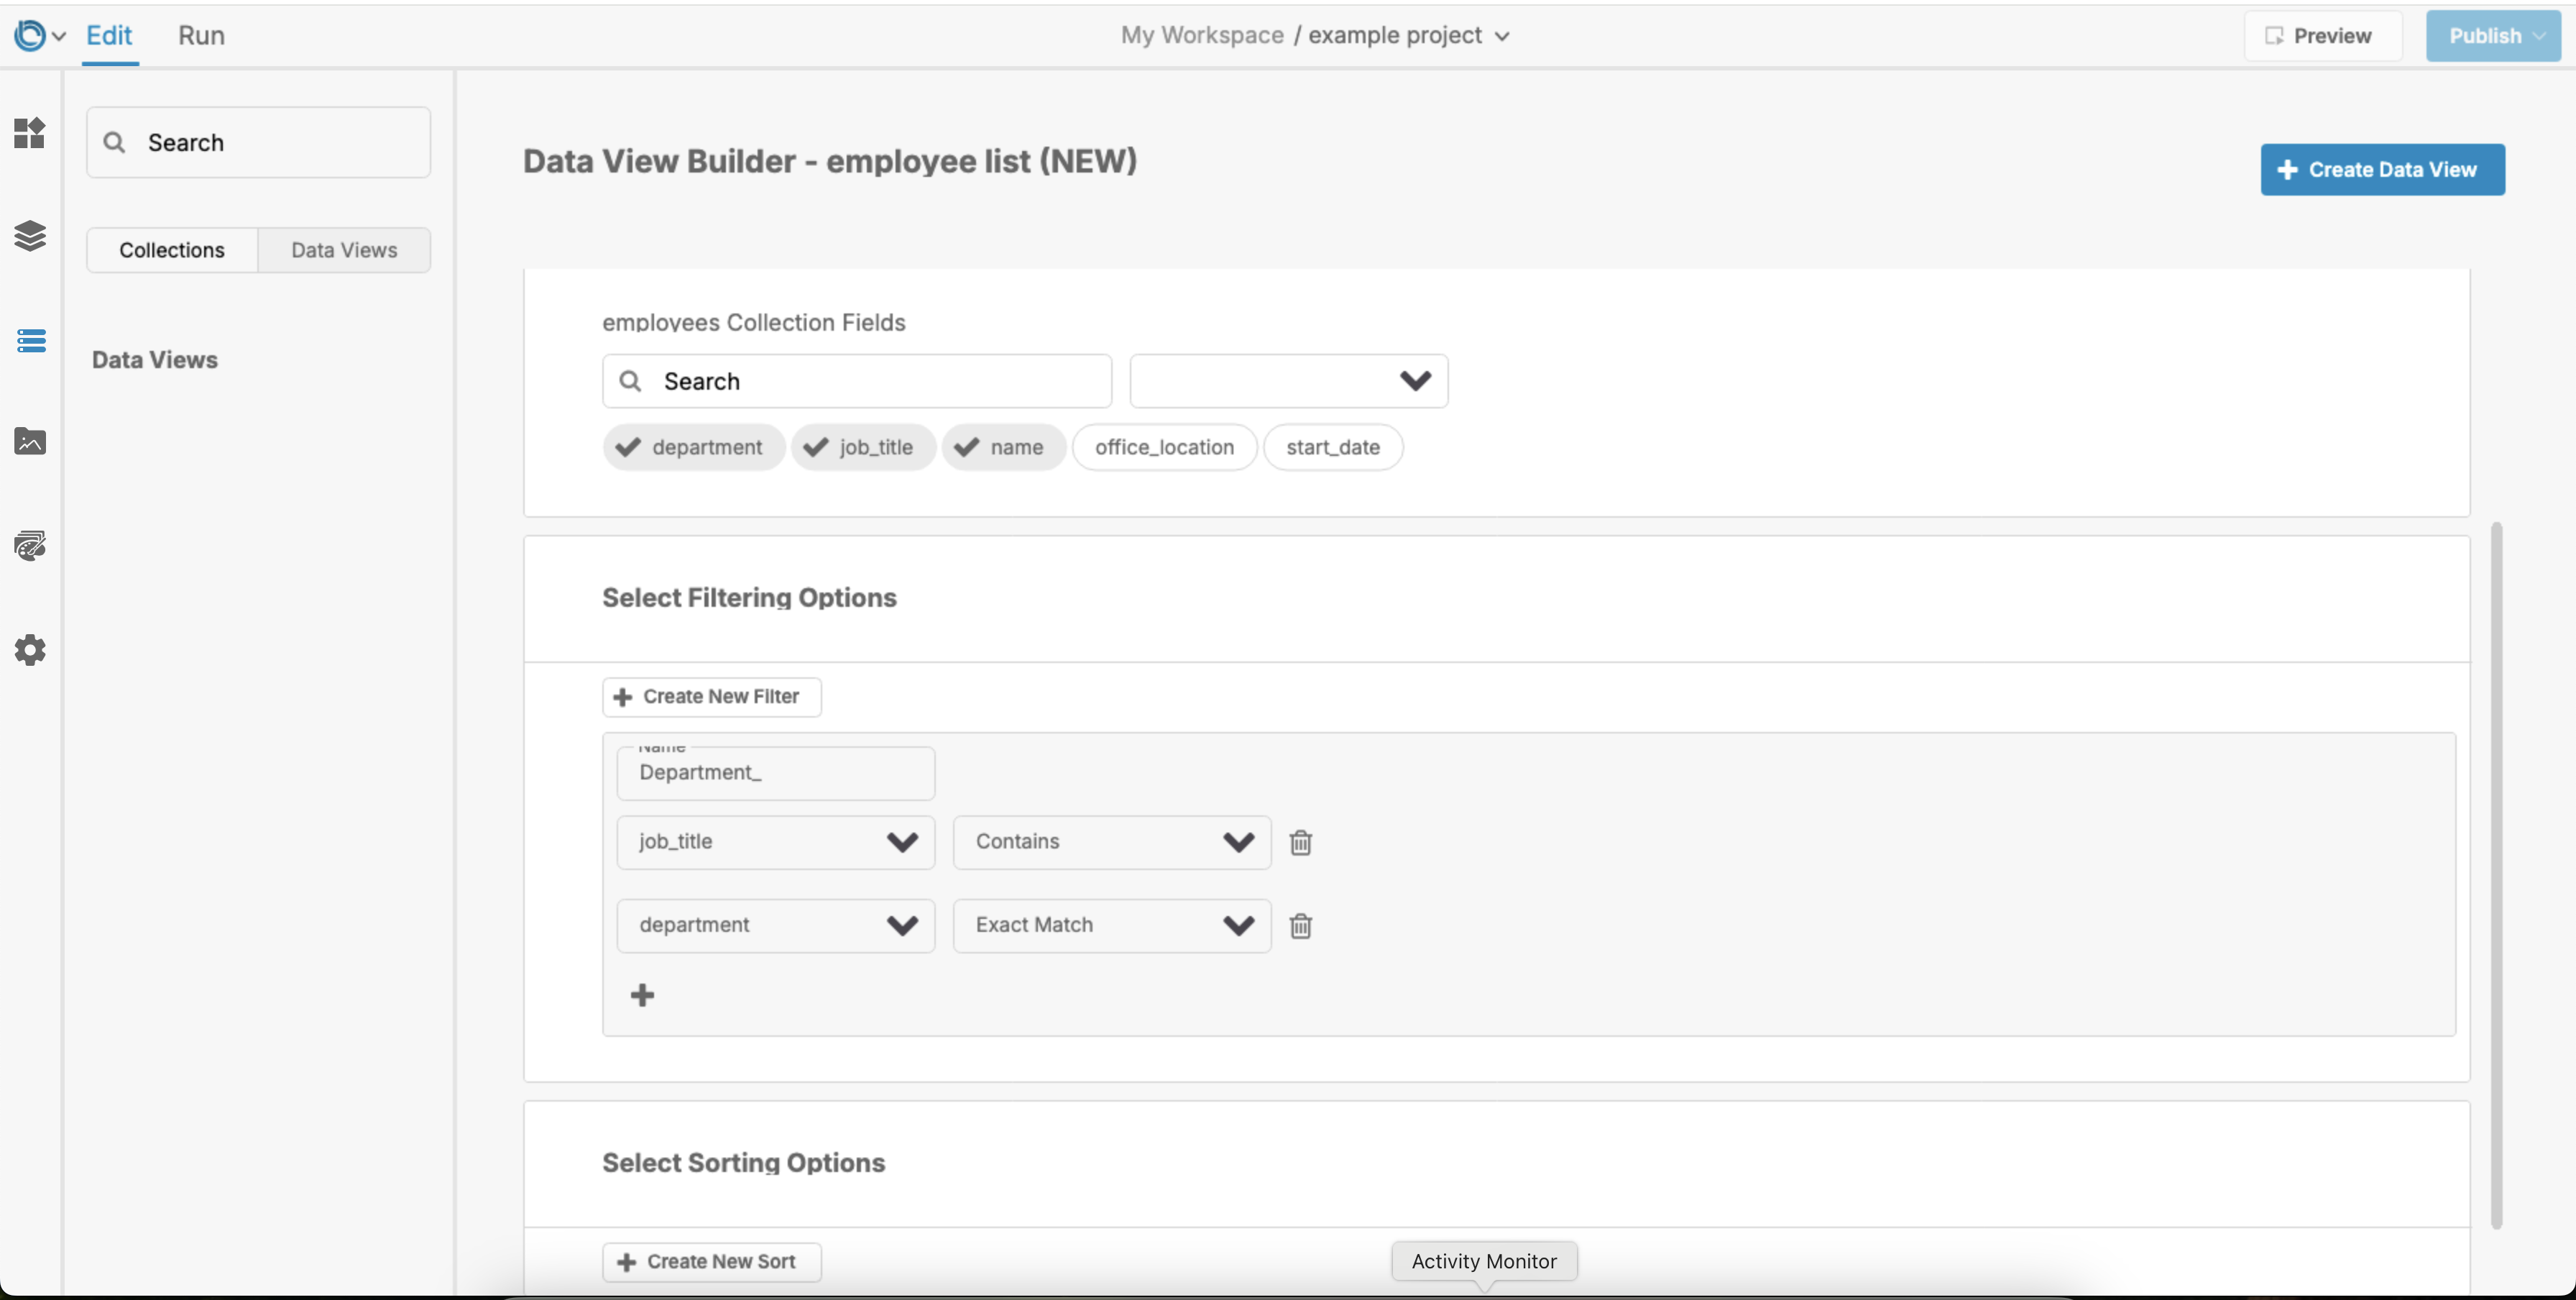
3. Add Filters
Filters allow you to refine the data displayed in your Dataview.
How to Add Filters:
- Click + Add Filter.
- Define the filter criteria:
- Choose a field to filter by.
- Select a condition (e.g., equals, contains, greater than).
- Name the filter (e.g.,
Employees with job title in department,High-Priority Tasks).
Example: Show only employees in a specific department:
- Field:
Department - Condition:
Equals

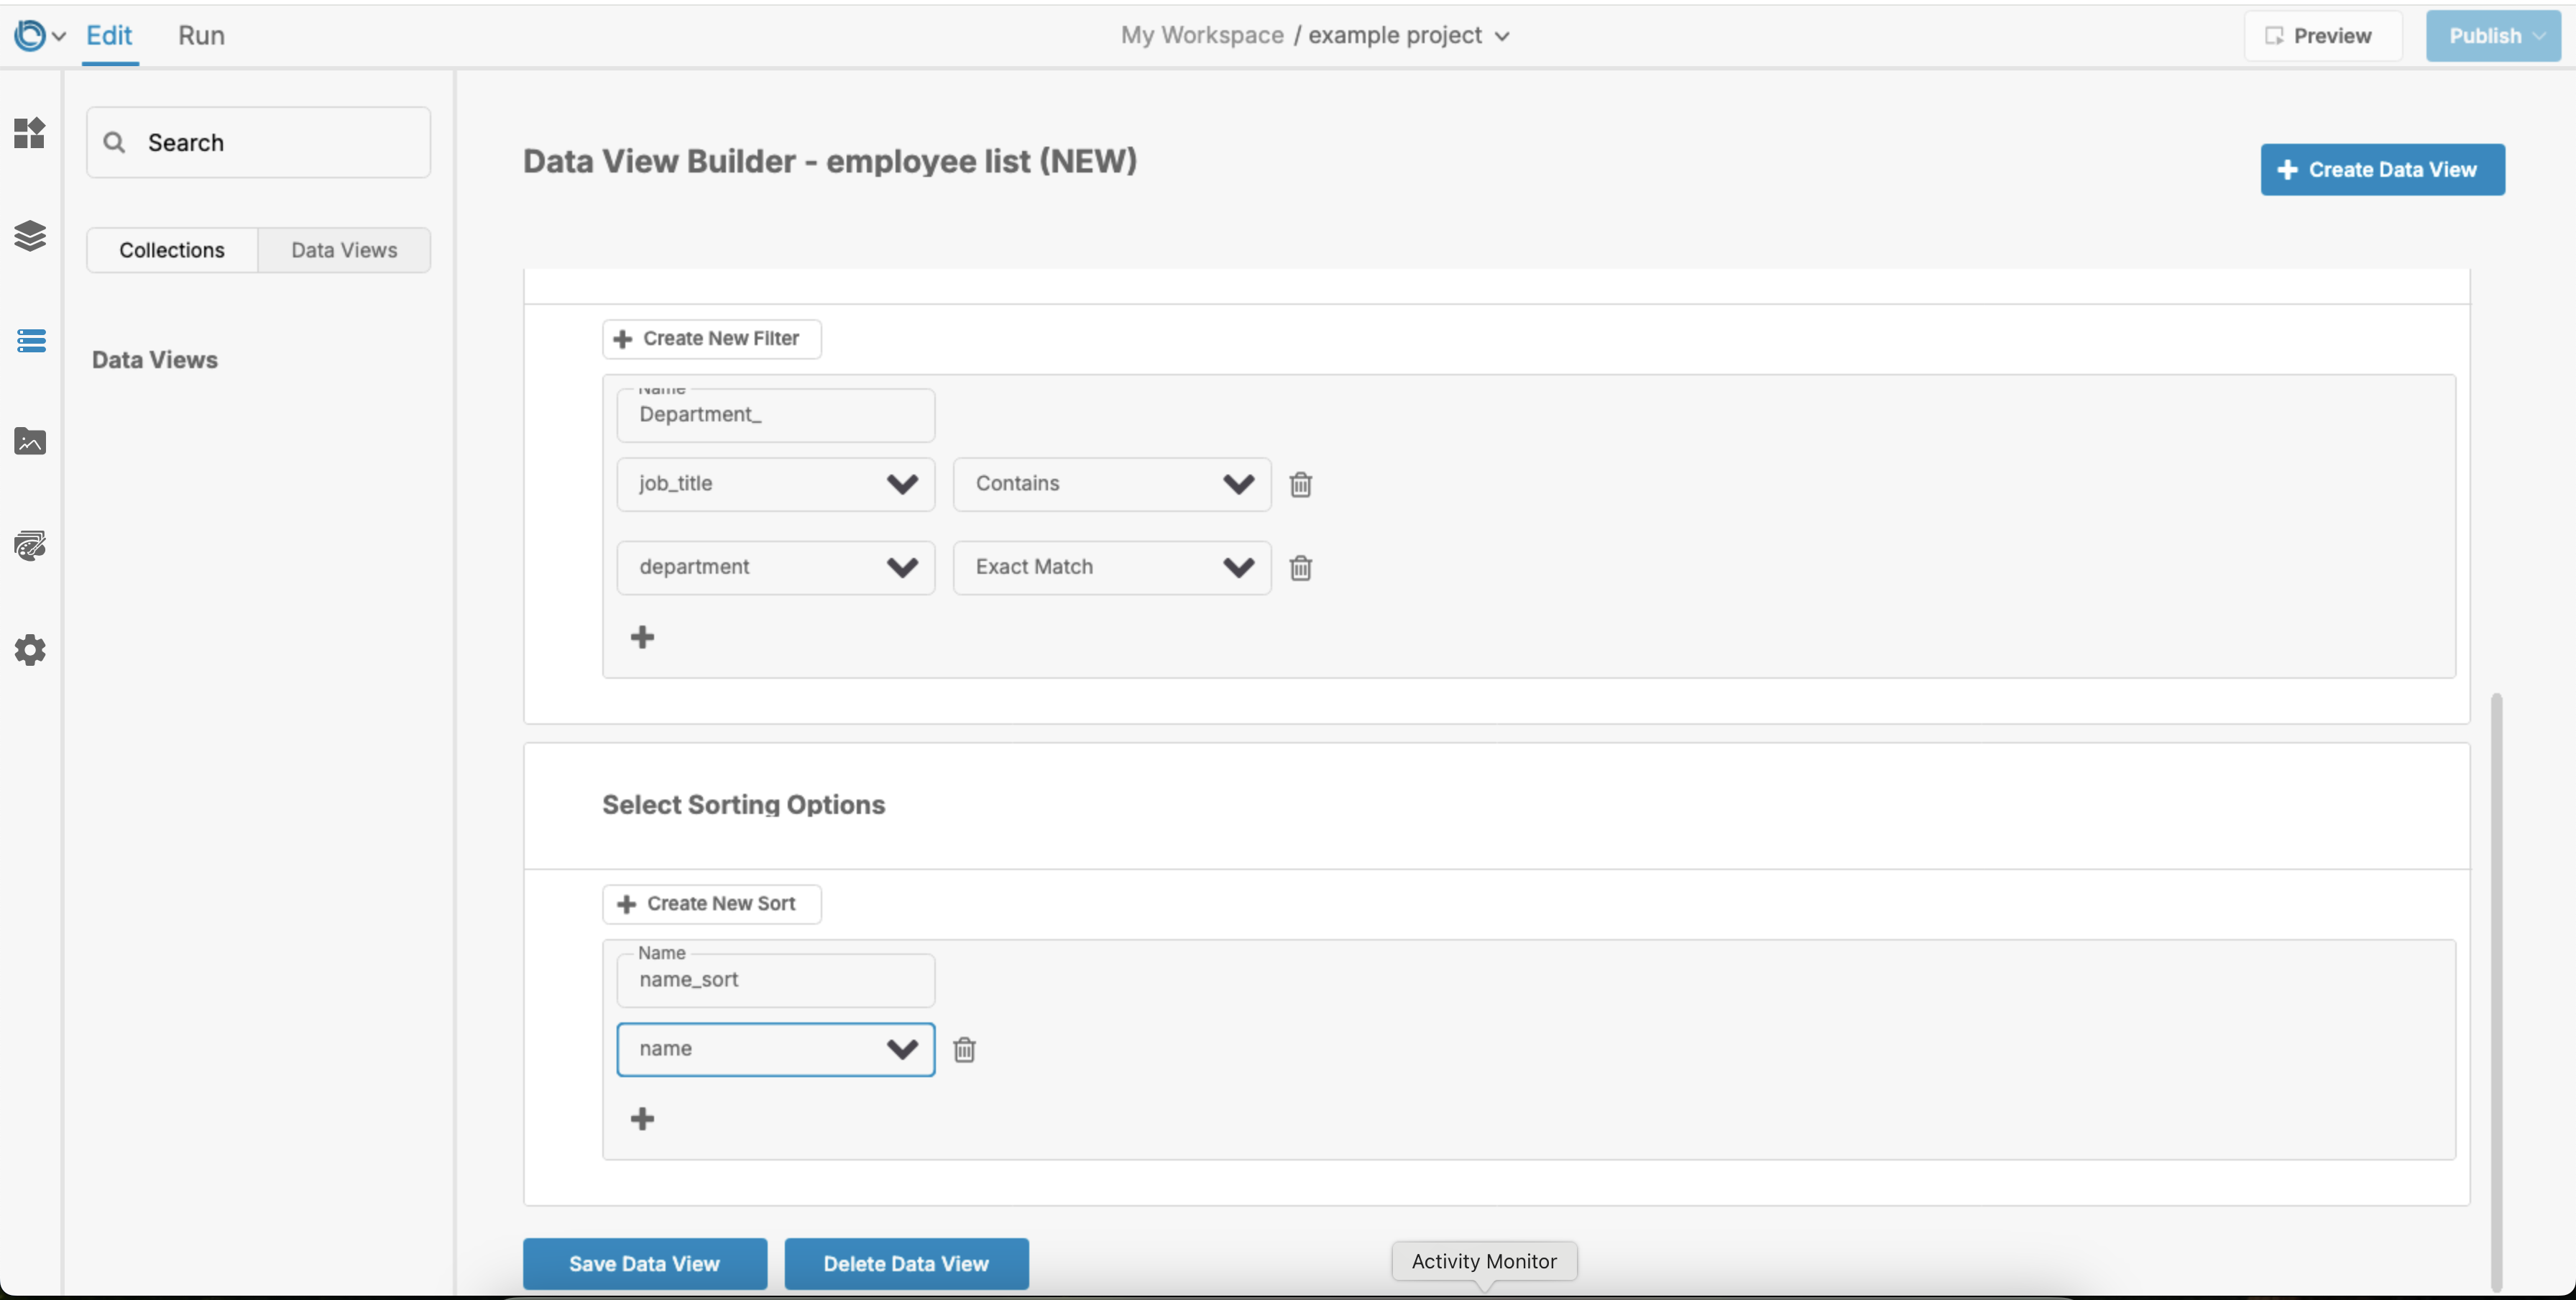
4. Add Sorts
Sorting rules determine the order of records in your Dataview.
How to Add Sorting:
- Click + Add Sorting Rule.
- Select the field to sort by (e.g.,
Name,Due Date). - Name the sorting rule for easy reference.
Example: Sort employees by their names.

5. Save Your Dataview
Once you’ve selected fields, added filters, and defined sorting rules:
- Click Save Dataview to finalize your Dataview.
- Your Dataview will appear in the Dataviews Panel.
For further learning: